
Why Use Off Camera Flash?
Why Use Off Camera Flash?
As a teen I remember being a vivid graffiti artist. I spent a lot of my time coming up with designs and coloring and painting them with colored pencils and acrylics. What drew me into graffiti was the vivid, dramatic and vibrant colors. As a photographer I find myself drawn to these same things photographically. I love bright, brights, very dark, darks, high contrast and vibrancy in my imagery.
When I first began to understand what I wanted to see in my work, I tried creating this effect in post processing. Although I was able to scratch the surface of what I was truly looking for the big breakthrough came when I started using off camera flash (OCF). I’ll be quite frank when I say that OCF was intimidating when I first ventured into it. From understanding where to position the light to grasping how much power I should use, the process was slightly overwhelming at first glance.
I recall taking my wife and son out for a session and vowing to myself that I would learn OCF. We created some good images and I finally started to see the vibrancy and deep colors that OCF could create. From there forward, I was totally hooked and I wanted to find a fail proof system that I could use to duplicate the results over and over again.
Today, I use Canon 600 EX-RT and the transmitters/controller. What I love about this system is that it takes a lot of the guess work out, they are completely synced and every time I bring them out they work perfectly. One of the most frustrating obstacles I find newbies have is consistently getting the flashes to communicate to one another from session to session. Getting a system like the Canon 600 EX-RT or any system that communicates through radio transmission will simplify your experience.
Now the only thing left for me to tell you is my approach to OCF, what modifiers I recommend and how some of my favorite images were created. I like for my images to rarely have blown out highlights. As a result, when I shoot with OCF I purposely underexpose my images (salvaging more data/megapixels). Let say a perfectly exposed image would take f/4, 1/160 at ISO 400 to expose properly. For this image, I would drop my settings to f/5.6 and ISO 200. This will make the image darker, but adding the flash will allow for your subject to be properly exposed. This will do three things: separate your subject from the back ground, keep blow outs to a minimum and saturate the colors a little more. I tend to always start with my flash at about 1/64 and adjust up if more light is needed.
Using OCF is not something that is a cookie cutter formula, you have to shoot then adjust depending on the available light. For modifying the light I find the fastest and easiest method is using Magnet Modifiers often called Magmods. This allows for you to change from one modifier to the next relatively simple. It also allows for you to stack modifiers using a magnetic grip on your flash, like gels, grids and diffusers: (sphere, bounce, snoot). My favorite modifiers from Magmods is the sphere as I feel it diffuses the light very nicely and it my go-to modifier for portraits and receptions.
Why should you used OCF even if you are a natural light photographer? Some images can not be taken without a flash off camera to achieve a desired result. If your style doesn’t ask for your to push these creative boundaries, then you can get away with never learning OCF. However, I’m a firm believer in knowledge being power, and you never want to get to a situation and not be able to perform because you don’t have the tools in your tool belt. Thank you so much for reading, enjoy these images that could only be done with OCF.
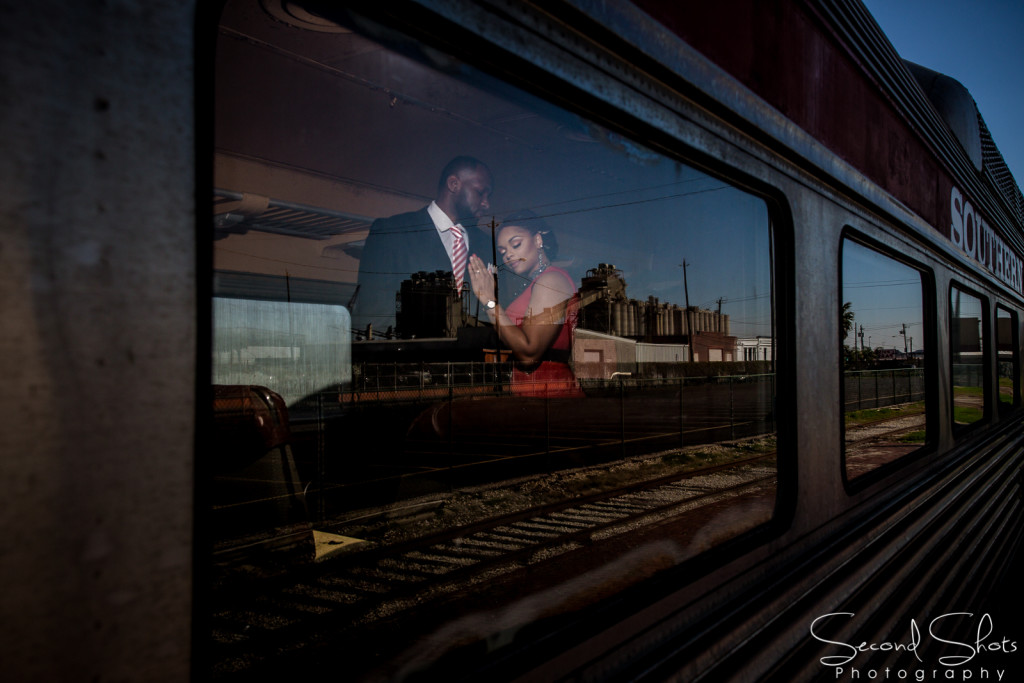
This shot was taken inside a train car. This image could not be created without using flash because if you are shooting through a window you need the inside to be brighter than the outside in order to illuminate the subject. I added a flash at full power right about the couple on a luggage rack. My camera settings are f/7.1, 1/160 ISO 400. (Flash 1/1)
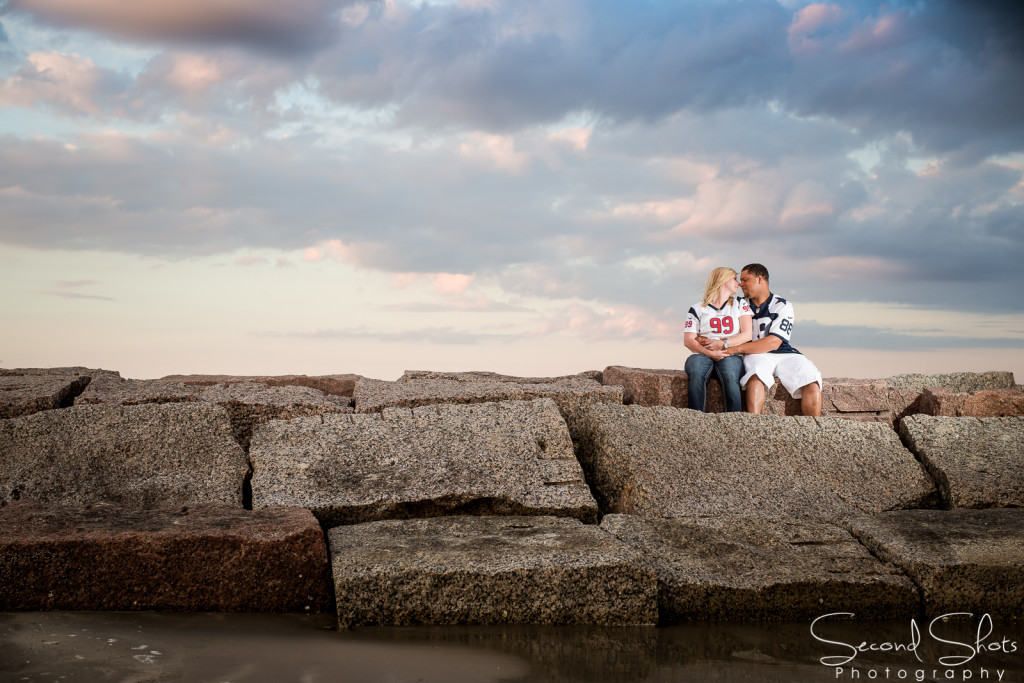
This shot was taken on a jetti at our locale beach. This image could not be created without using a flash because you wouldn’t have separation from the subject and the sky, or your sky would have been blown out without the details. One of the greatest things about going to the beach during sunset is the dramatic colors that are created during the golden hour. Adding a flash to this shot allowed the subjects to be highlighted and I didn’t lose any details on one of the nicest features. My camera settings are F5.6 1/200, ISO 800. (Flash 1/8)
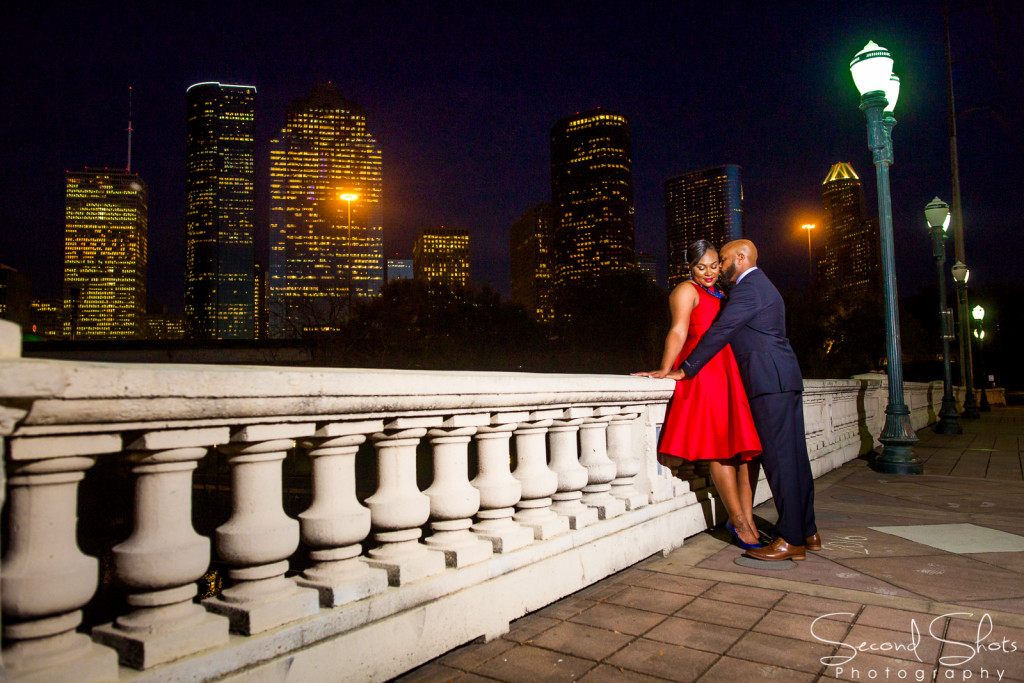
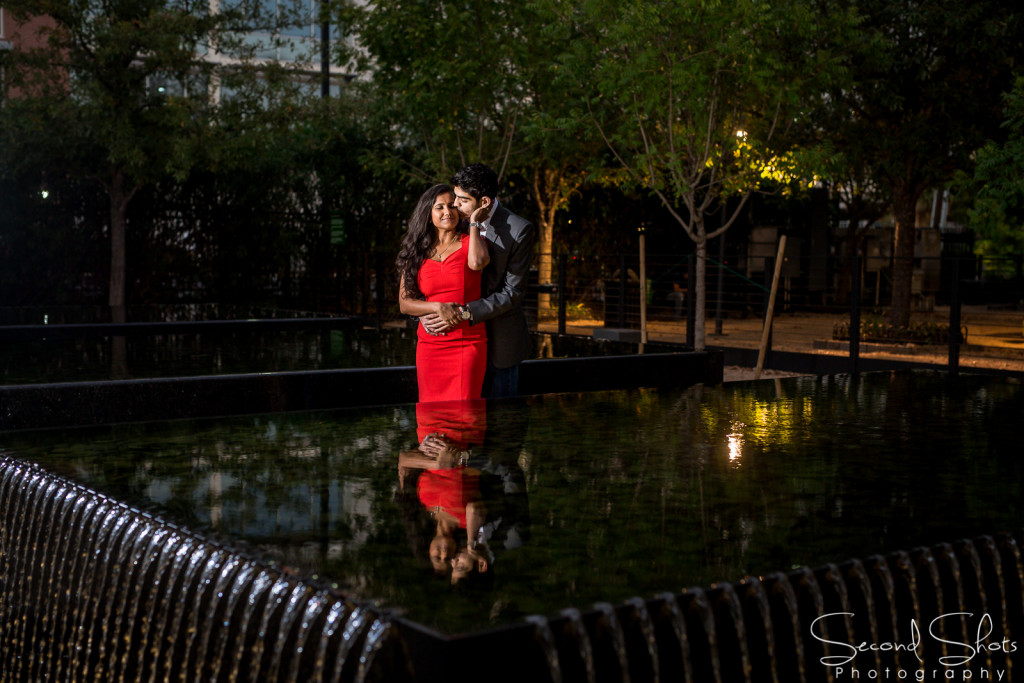
This shot was taken downtown Houston. This image could not be created without using a flash as the couple would be less vibrant. If I didn’t use a flash to create this image, the image would have had a great deal of noise and we would have lost the details in the back ground. My camera settings are f2.8, 1/160, ISO 2000 (Flash 1/32)
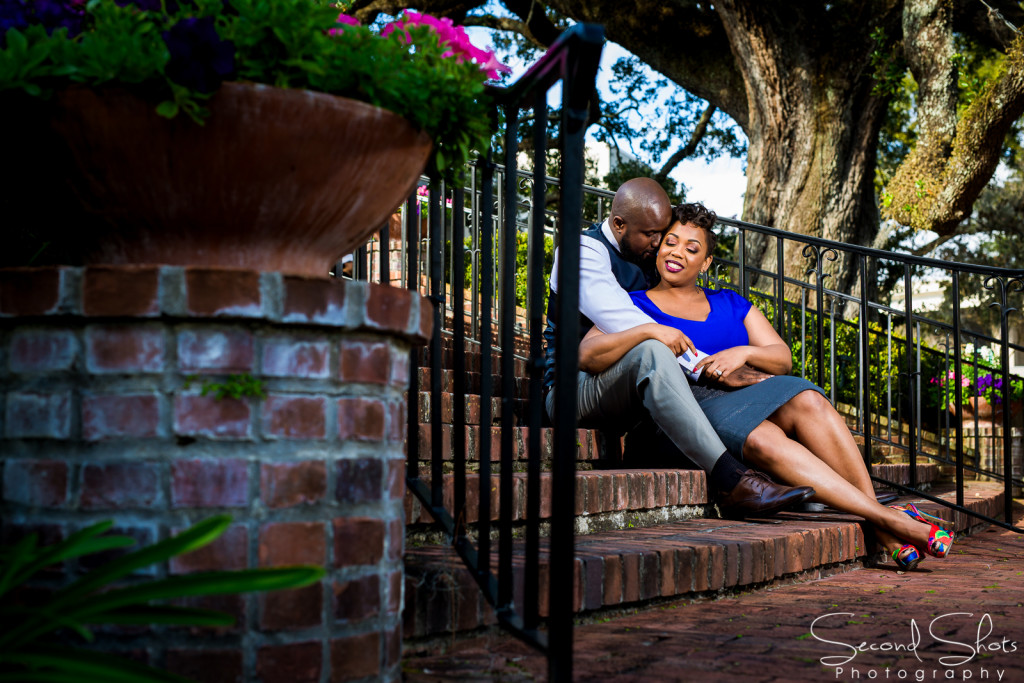
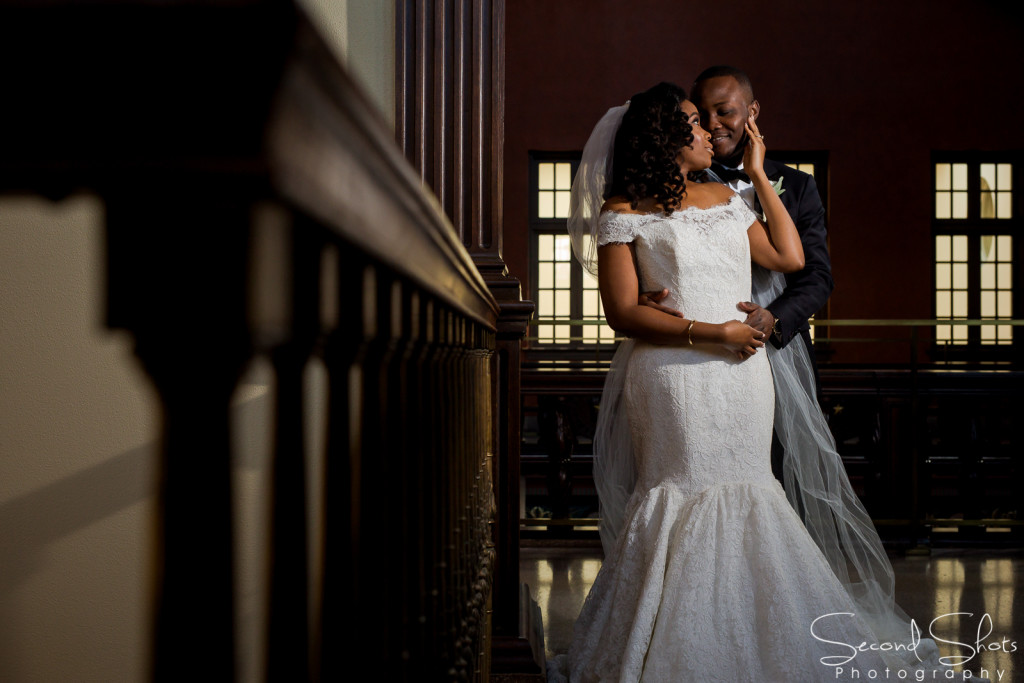
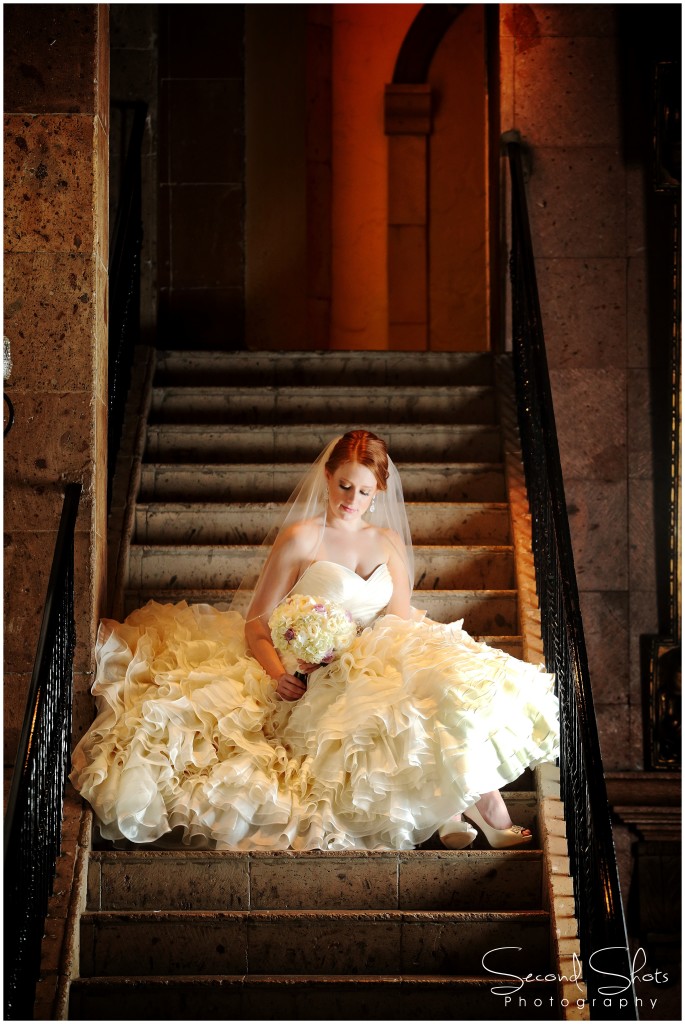
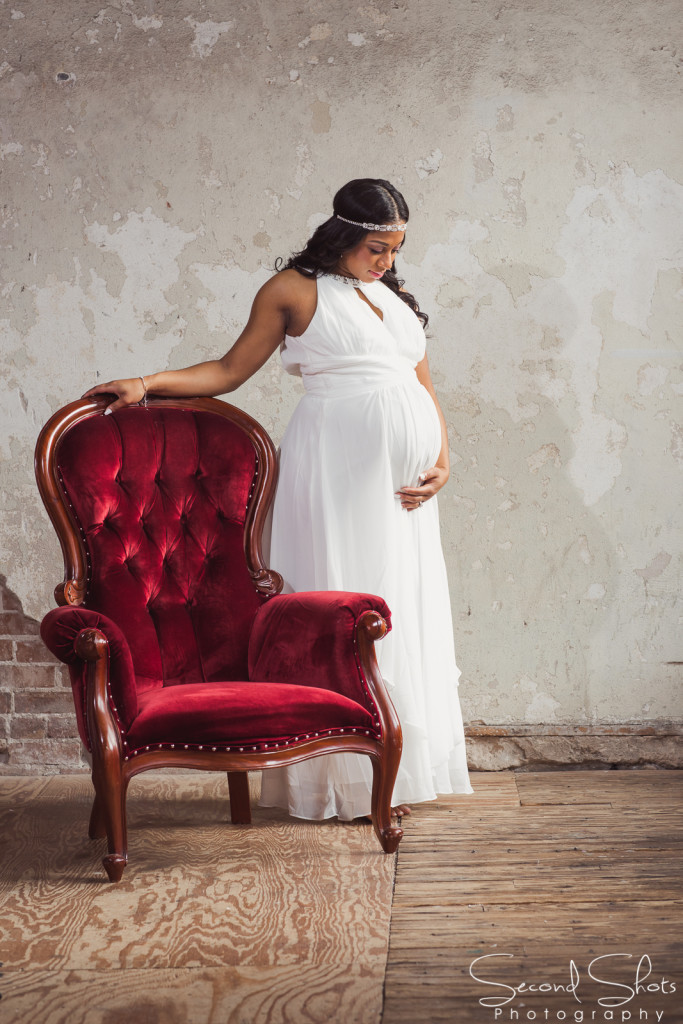
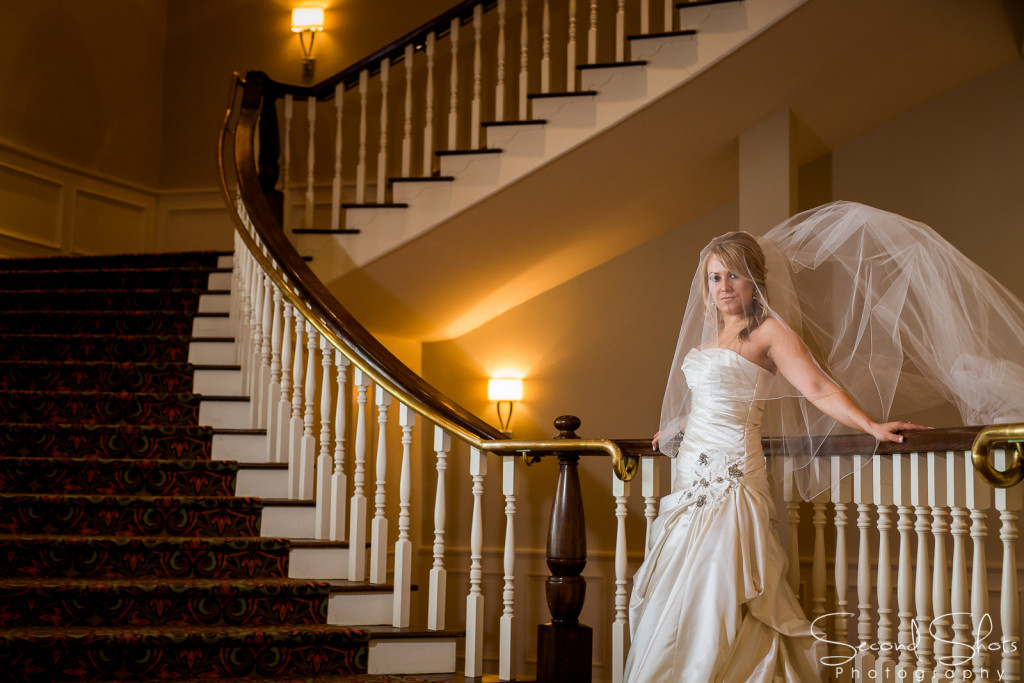
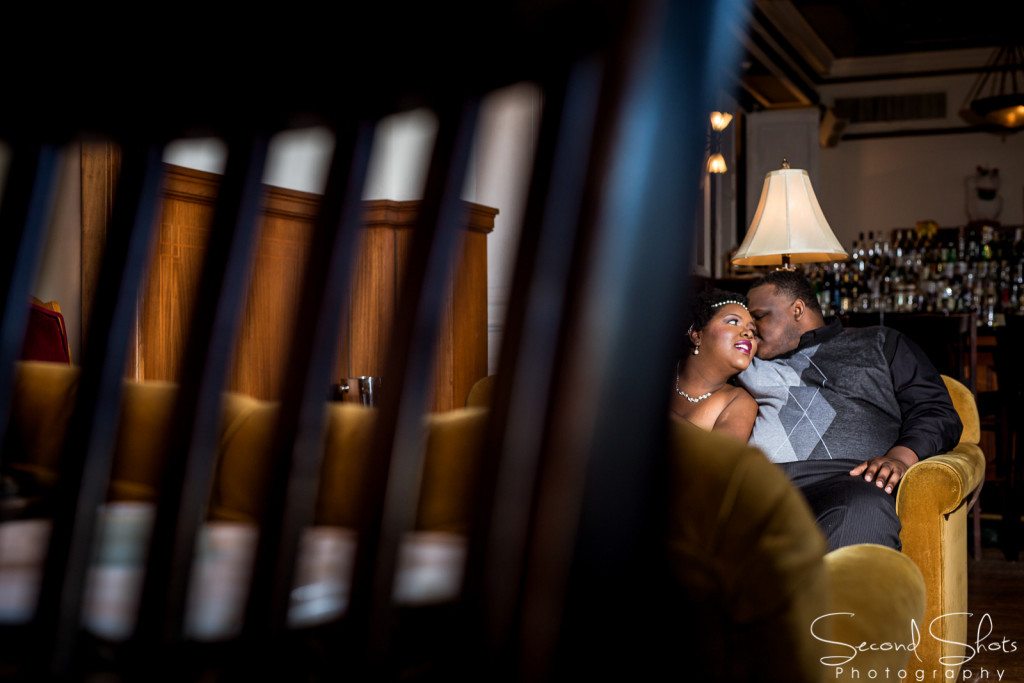
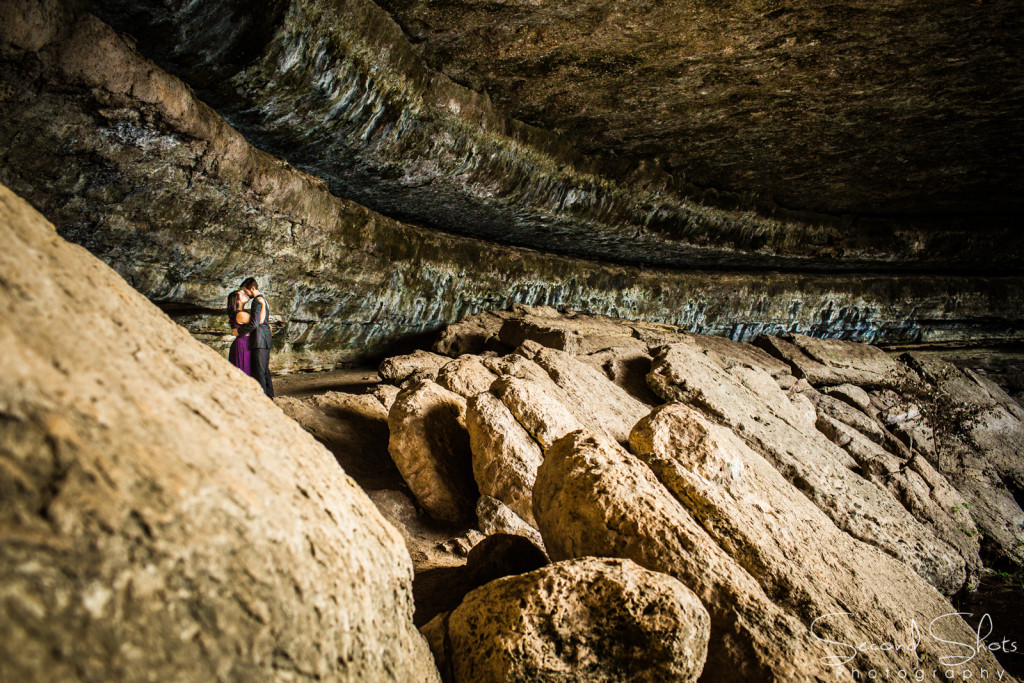
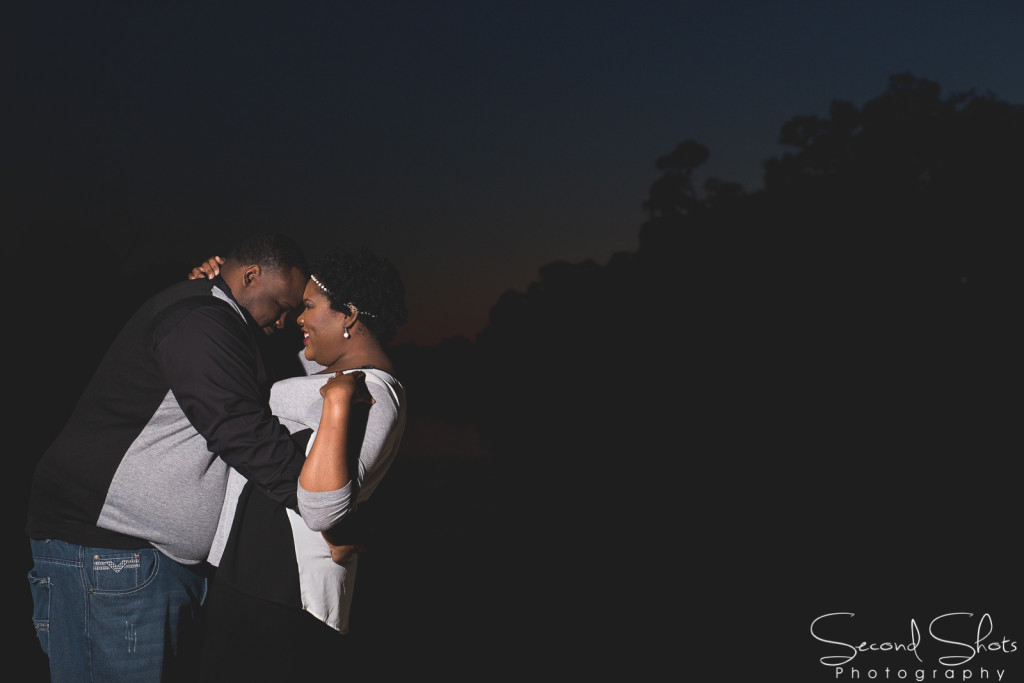
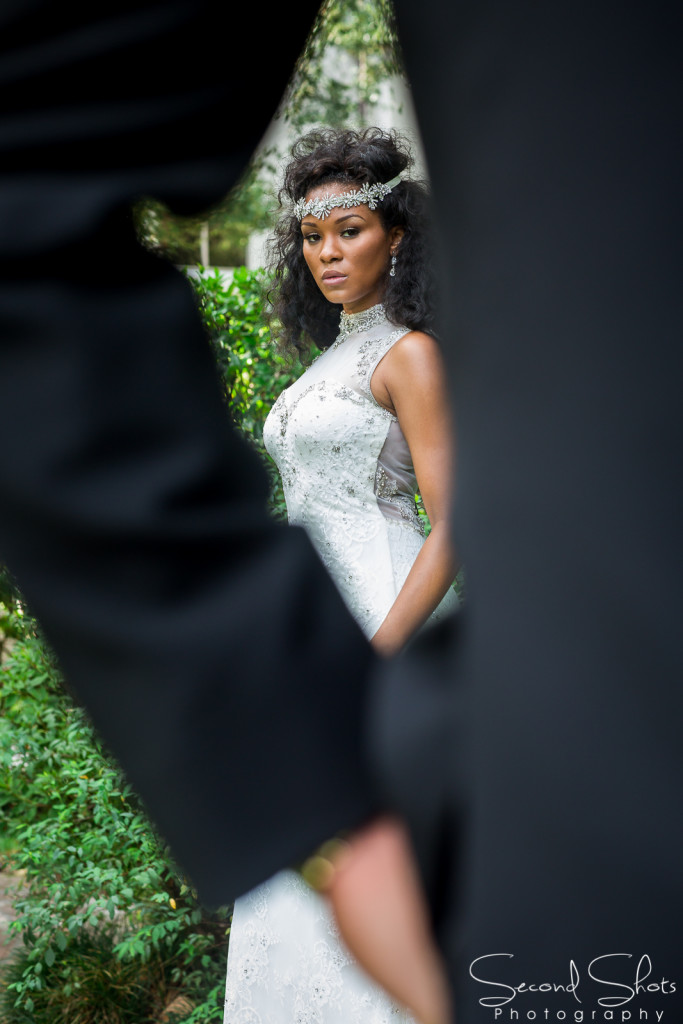
Here are a handful of some of my other favorites, if you want to know the settings ask in the comments and we’ll create a dialogue.
![canon-yn-600ex-rt-670x477[1]](https://secondshotsphotography.com/wp-content/uploads/2016/04/canon-yn-600ex-rt-670x4771.jpg)
![top-modifiers[1]](https://secondshotsphotography.com/wp-content/uploads/2016/04/top-modifiers1-1024x515.png)

Be the first to comment